 Cart - 0
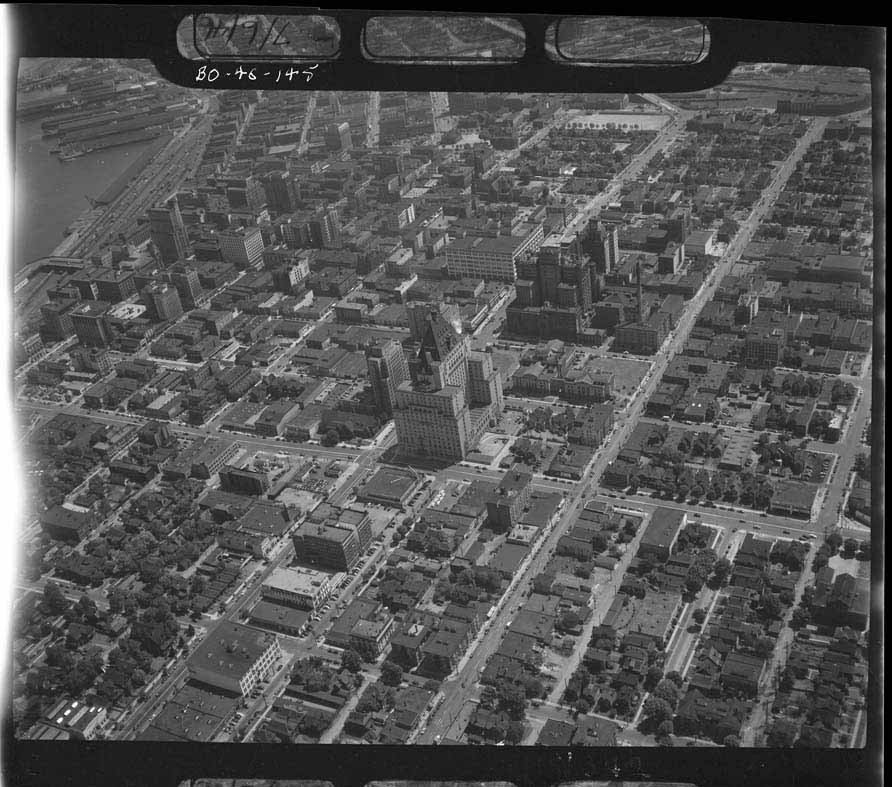
It all begins with the air photo negative. There appear to have been two cameras used to capture the images: a Fairchild K-20 and a Williamson F.24, both World War II reconnaissance cameras. Each negative is either 5×4 or 5×5 inches, depending on the camera, and sits in its own cardboard sleeve along with a small contact print. Each photo has a code number assigned to it. There are a few different formats of numbering, but generally you have a year followed by a frame number, for example, BO-46-145. The first two letters refer to the province and type of photograph. In this case, BO refers to British Columbia, Oblique. The next two numbers refer to the year of photography, 46 being 1946. The last digits refer to the frame number. 145 would be the one hundred and forty-fifth photo of this collection that was shot that year. The frame numbers are not necessarily concurrent, nor do they start at zero. Sometimes, photos were shot for specific clients and were delivered to the client at the end of the project. In these cases, the negatives no longer exist in the collection and the block of numbers remain reserved.
 The negatives are scanned on an Epson Perfection V700 Photo Scanner. This scanner is capable of scanning transparent negatives up to 8.5″ x 11.7″ at 6400 dpi. In this case, 6400 dpi is overkill as the resolution of the film just isn’t that fine. The negatives are scanned as 16-bit, black and white, images at 2400 dpi resulting in an output image that over 200 megs in size! The borders are cropped off using Photoshop and the image is balanced to achieve the best tone quality. In some cases, additional imagery must be cropped off due to artifacts or “light leakage” into the camera which causes part of the edge of a photo to be extremely dark. This is why each image will have slightly different dimensions.
The images are then touched up to remove dust and scratches. This is a largely manual process as most automatic dust/scratch algorithms tend to modify actual detail as much as they remove scratches. I generally spend 1 to 2 hours, per frame, manually painting out dust and scratches. After that amount of time I just have to move on. You could spend days trying to get every scratch or every piece of dust.
Finally, the images are saved as 8-bit, black and white images and converted to the proprietary format required by the image viewer web plug-in.
Even with all this work, you will probably notice that the quality of the images varies quite a bit. Generally, as the plane flies higher, the camera must shoot through more atmosphere, resulting in a “muddier” looking image that doesn’t have as much detail as a photo shot closer to the ground.
Feel free to browse around and see what you find. All the images can be viewed at full resolution, although you can only view a portion of an image at a time. If you find an image that you really like, please consider purchasing it. I hope to sell a few images to cover the time of scanning, retouching, and the cost of hosting the images online.